Maybe your shirt tag is uncomfortable. Maybe you want a nice, clean look. Maybe you don't like being a walking billboard for clothing brands. For whatever reason, you might find yourself wanting to remove a tag or patch from your clothes. This is how you do it.
Tools
You definitely want a seam ripper, and you probably want tweezers.
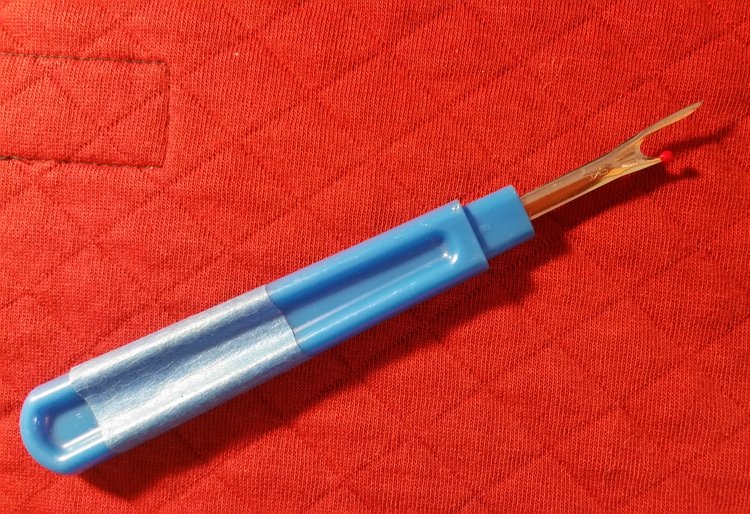
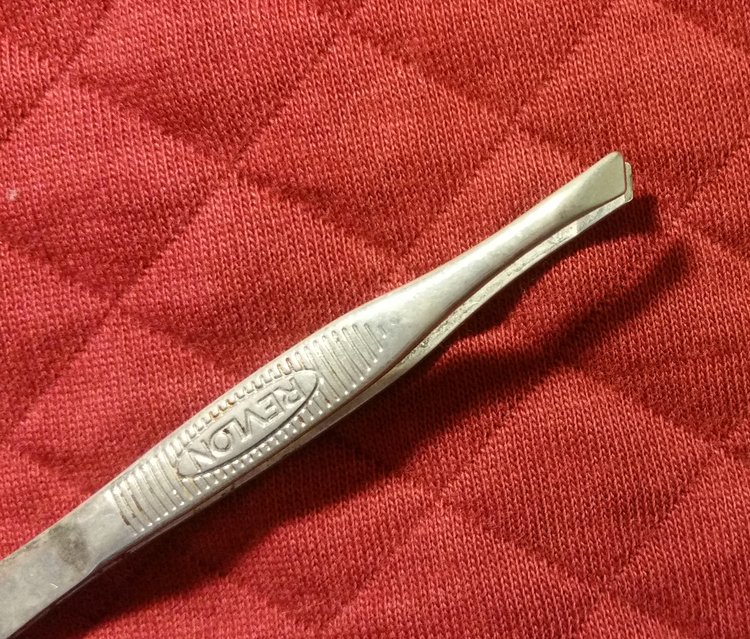
Example: a patch
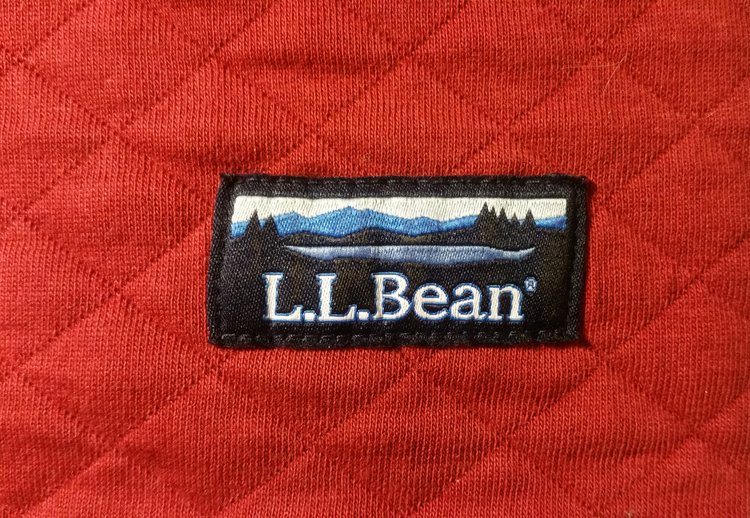
First let's look at the easiest possible case: removing a small patch from clothes. I wanted to remove this logo patch to get a clean, solid colored sweatshirt.
Turning the sweatshirt inside out, we see the threads holding on the patch come through to the inside and contrast well with the fabric. It's also important to note that the threads holding on the patch aren't giving any structure to the garment. Cutting out this thread is like removing a non-load-bearing wall in a building: relatively easy.
To get started, slide the long pointy end of the seam ripper under any one of the patch's threads you want to cut. Make sure you catch only the patch threads, not the fabric of the shirt itself. Then lift up or push through and the blade in the seam ripper cuts the thread.
In this case, once the thread is free you can pull it out easily with tweezers. It won't always be so easy depending on the style of stitching.
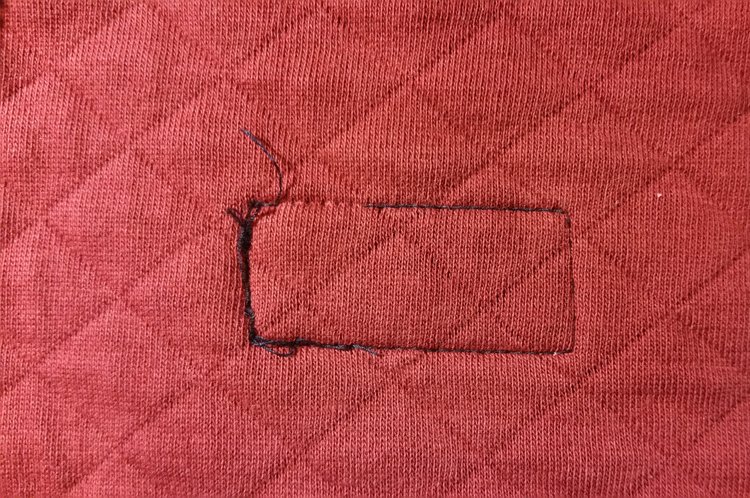
The left side has some knots of thread where the stitching started and ended. Keep picking out individual threads and cutting them with the seam ripper. Eventually the knot will be loosened enough that you can pull threads out with tweezers.
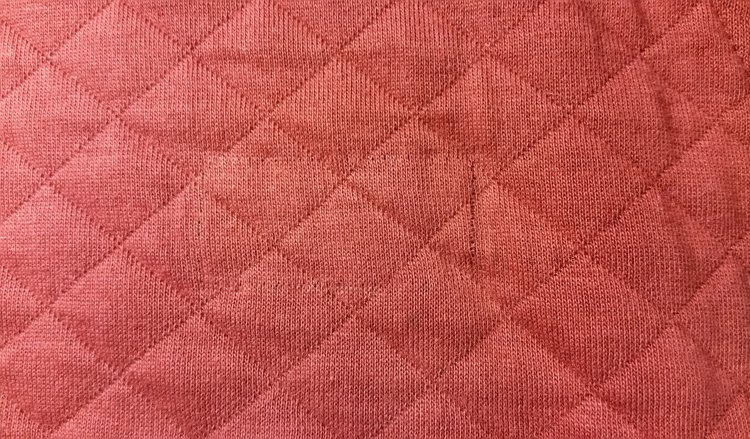
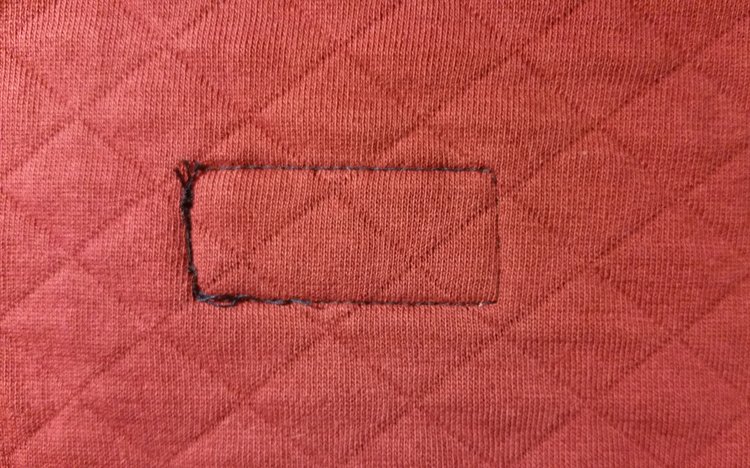
After the patch was removed you can see a faint outline and the tiniest holes where the thread passed through the fabric and distorted it. The alteration is invisible after washing and when viewed from a normal distance.
Example: a tag
Shirt tags can be more difficult to remove because often they are sewed into the fabric by the same threads that are holding together the shirt. In this case, removing the tag with a seam ripper will cause visible damage. You might still choose to do this with an undershirt where appearance isn't so important.
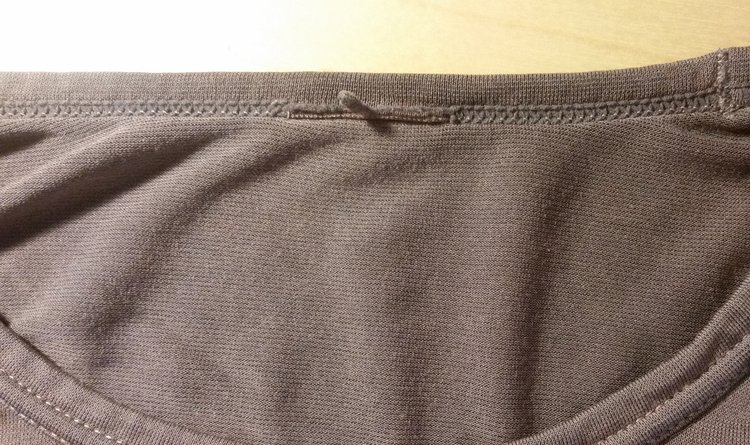
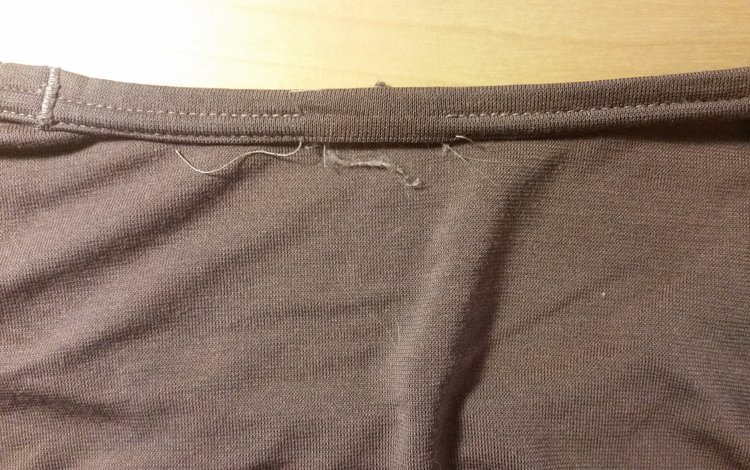
Those loose threads made me nervous at first, but I've worn and washed this shirt for years and it has held up perfectly. To me, it's worth the "damage" to have a comfortable base layer.
Example: a shoe
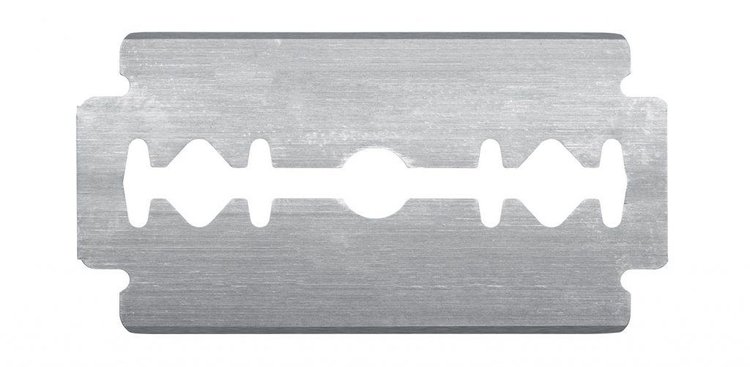
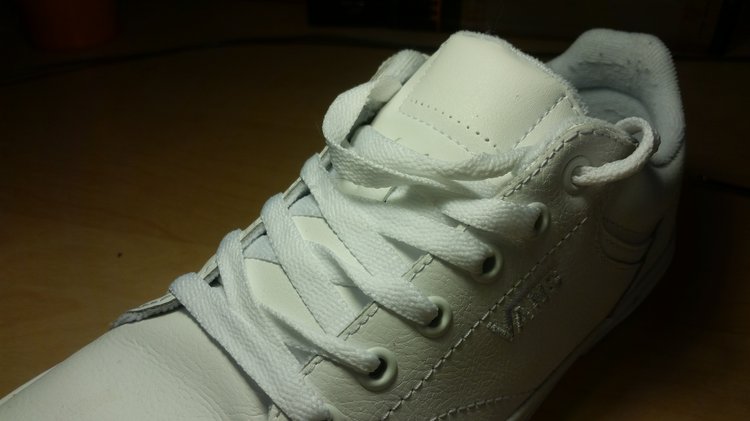
I was convinced that I wanted simple, solid white sneakers for reasons. The pair I found was great except for a loud "VANS" patch on them. To get the clean look, I used a seam ripper on the bottom side just like I did on the sweatshirt. The top edge of the patch was tucked inside a seam in the shoe that I couldn't cut, so instead I cut the patch with a razor blade as close as possible to the shoe's surface. I recommend using a safety razor blade like this. They are very fine, and very sharp.
Be aware that you can mess up your clothes if you cut the wrong threads or slice into them with the razor blade. Stay away from threads that are holding together two pieces of fabric unless you're willing to affect the external appearance of your clothes. Despite the danger, it's worth the effort to turn a shirt that you wear out of obligation into something you're happy and comfortable wearing.
Happy wearing!